The weather gods are shining upon us! Saturday forecast calls for 11C in the sun. To celebrate this glorious day, some friends are coming over and I am planning to fete them with a bounty of ribs.Â
I’ve been cooking Ribs for several years now and I must say that I am no slouch. I can state with confidence that every person who has tasted “Ribs a la Roach” has given them great reviews. So, for posterity and in the hopes of providing you with some new ideas to incorporate into your BBQing techniques, I will now share some of the processes I use to make my best possible fall-off-the-bone pork ribs:
Part I:Â Preparation of the Meat
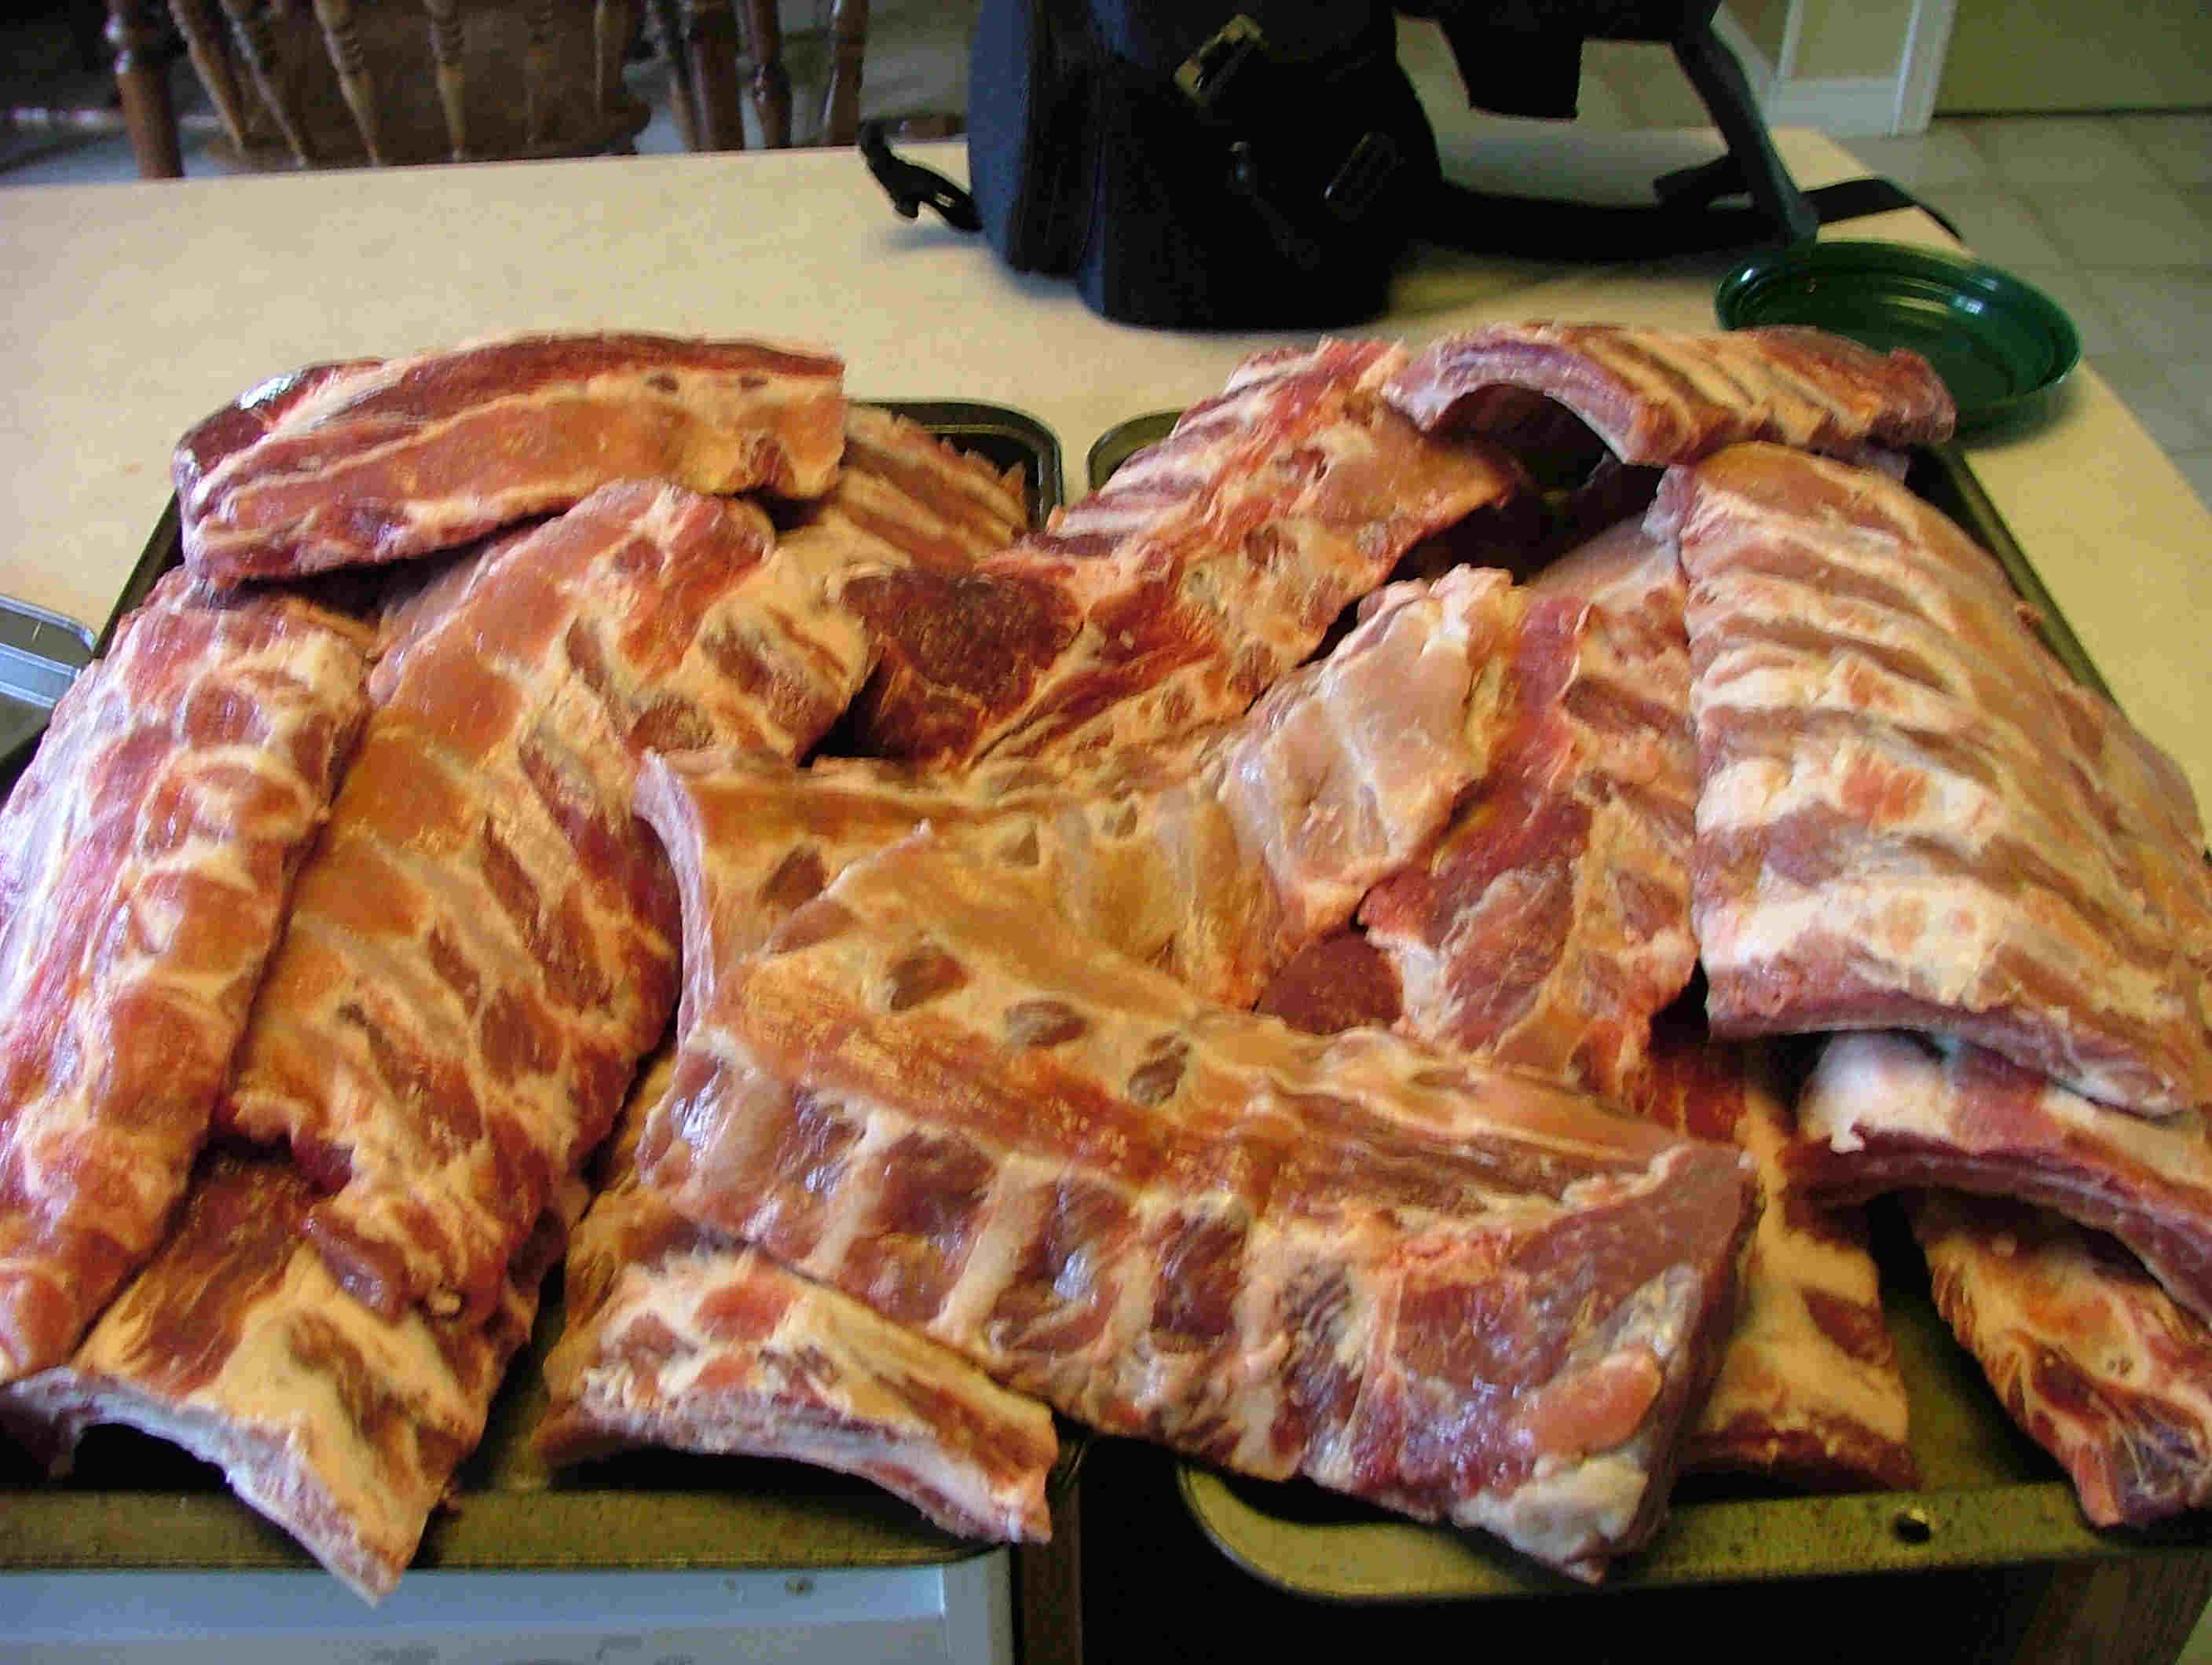
Nothing is more important than ensuring you start with top quality product. For me, this entails travelling to the Farmer’s Market to get my ribs right from the butcher. In a pinch you can go to the grocery store and get your ribs, but I recommend a butcher. The quality tends to be much better and there’s usually a large selection of ribs. I always buy back ribs since they tend to be the meatiest of the ribs. I purchase the fleshiest looking of the lot, specifically the ones that are robust at the large end of the rack. If I can’t actually see the bones except for at the edges, then this is a fine rack to buy. Don’t worry about fattiness at the ends or along the underside of the rack since they will be trimmed before cooking.Â
Once I’ve brought the ribs home, it’s time to trim them. The first thing I do is turn them over and pull off the membrane that runs along the bottom of the rack. The membrane is that waxy ‘paper’ layer that covers the entire underside. This must be removed in order for the flavours to permeate completely through the meat. Since the membrane is impervious, it would be impossible to acquire fall-of-the-bone quality with it on. Plus, it’s just not that much fun to eat with it left on. Not to mention that your ribs will ‘curl’ up on the BBQ with it left on. In other words, remove the damn thing! To do this you need to start peeling the membrane from one end of the rack. I usually start at the small end by taking a knife and scoring enough of the membrane to be able to grab it with my fingers. Then I slowly tear the membrane off. I find using a paper towel adds grip to the process or else you may find your fingers slipping off frequently.
Once the membrane is off, I trim the fat off the edges. Most racks of ribs have big chunks of fat around the edges. It’s not worth leaving that on the rack for any reason so off it goes. The fat that is ‘intermixed’ throughout the rest of the rack should stay on since that is where a lot of the ‘self-basting’ comes from during cooking that will tenderize the meat. Not to mention the flavour it provides.
Next, I cut the racks in half. The only reason why I do this is that I don’t own a massive industrial BBQ so they will only fit on the grill if I cut them.
Now, the meat is ready to apply the goods. A good bunch o’ ribs should look something like this:
Â
Part II:Â Pre-Cooking
Now the meat is trimmed and ready for the love.  I like to apply a rub to the ribs before cooking. This is to enhance the flavour as well as tenderize the meat to some extent. Here is a basic recipe for the type of rub I apply. Usually I change a few things here or there and add some secret spices to call it my own. But the ‘foundation’ goes something like this:
- 1/4 cup of coarse salt
- 1/4 cup (packed) brown sugar
- 1/4 cup paprika
- 3 tablespoons of fresh black pepper
- 1 tablespoon garlic powder
- 1 tablespoon dried onion flakes (or powder)
- 1/2 teaspoon cayenne pepper (or more to kick it up a notch)
- 1/2 teaspoon celery seeds
Combine everyting into a bowl and whisk it up. Store in a jar or sealed tupperware container after use and it will keep for a long time.
Before I apply this rub, I apply a light to medium coating of standard yellow French’s mustard. YES, mustard. This does several things for the ribs. First, it helps keep them moist. Second, it helps to hold the rub on the meat. Third, over a 4 to 6 hour period, it develops a nice tender crust on the ribs. And lastly, you cannot taste the mustard after that length of cooking time.
Then, apply the rub. I tend to be fairly liberal with the rub. But the goal is to apply an even coating around both sides of the rack. I like to use my fingers so that I can ‘massage’ the rub a little bit into the meat. Everybody likes a good finger massage every now and then.
After that, I put all the ribs on a metal baking sheet, cover them up with plastic wrap and let them sit in the fridge overnight, or, however long I possibly can if I bought my ribs the day of cooking.
Next, it’s time to bring out the smoking chips. I use one of two kinds of chips: hickory or mesquite. Both woods add unbelievable flavour to the meat. Whichever one I select for the event, I take a few handfuls and soak them in water for a few hours before use. It is IMPERATIVE THAT YOU SMOKE YOUR RIBS WITH WOOD DURING COOKING. I can’t stress this enough. You simply will not experience the most amazing ribs without smoking them.Â
Part III:Â The Cooking
Take the ribs out of the fridge and let them come down to almost room temperature. Heat the grill on high for 20 minutes and the turn off all burners except one, bringing the remaining one down to a low setting. Place the ribs on the grill in the area that is not above the burner that is still on (indirect heating). I recommend setting them on the grill in pairs leaning against each other to form a ‘^’ or tent-like structure so that as little of the meat is touching the grill as possible. This allows for even cooking. Also, set a tray of water underneath the ribs to catch the drippings as well as to keep the inside of the BBQ nice and humid. Lightly baste the ribs with rib sauce.  Next, add the wood chips to a smoke box or wrap them in tin foil and set on top of the coals over the burner that is set to low.
Ideally, I try to cook the ribs at 220 – 225F for 4-6 hrs. Periodically basting with more of the rib sauce. With about 10 minutes to go, I turn off the grill and then slather the ribs with sauce. Lots of sauce. For a few of the racks, instead of adding sauce, I sprinkle on some more rub and then leave the ‘dry’. I like my ribs both wet or dry so it’s nice to have both options.  I let the ribs sit in the covered BBQ so that the sauce kind of congeals with the meat to form that nice sticky finger lickin’ texture that wet world class ribs must have.
Regarding the rib sauce…..Â
I like to make my own sauce for the ribs. I just can’t consider them ‘Ribs a la Roach’ if I use store bought sauce. For me, the sauce is what gives the ribs its unique personality. In rib competitions, the prep work and the cooking plays a big part, but since everyone at that level has that stuff down pat, it pretty much boils down to the sauce.
Preparing my sauce is a labour intensive project involving about 20 different ingredients. Unfortunately, I can’t bring myself to divulge this closely guarded recipe with anybody. But, I can share a hint as to what goes in my sauce by showing you a picture of all the ingredients I use to built my concoction:
Yes, that is dark rum you see in the picture. The stuff in the white ceramic container at the front is brown sugar. The mortar and pestle is used in the process. It takes a few hours to make, but I can usually squeeze out enough sauce to conveniently fill some ketchup bottles I keep around for this purpose:
For a feast of about 6 racks of ribs, I usually go through about 3/4Â of a 1L bottle.
Part IV:Â Sides
No rack of ribs is complete without some sort of side dish. Pretty much anything goes with ribs that would go with a bbq: all kinds of salads, french fries, cole slaw. I like to have baked beans with my ribs. The good thing is that it’s easy to prepare and cook: take a couple of cans of baked beans (in tomato sauce, maple syrup, molasses….doesn’t matter) and add chilli powder (you know, the mixed kind that has cumin, onion, garlic, etc. mixed together) to give it that ‘cajun’ taste. Add the powder to taste. Then, put in a tin foil dish and throw onto the top rack of your BBQ while the ribs are cooking.
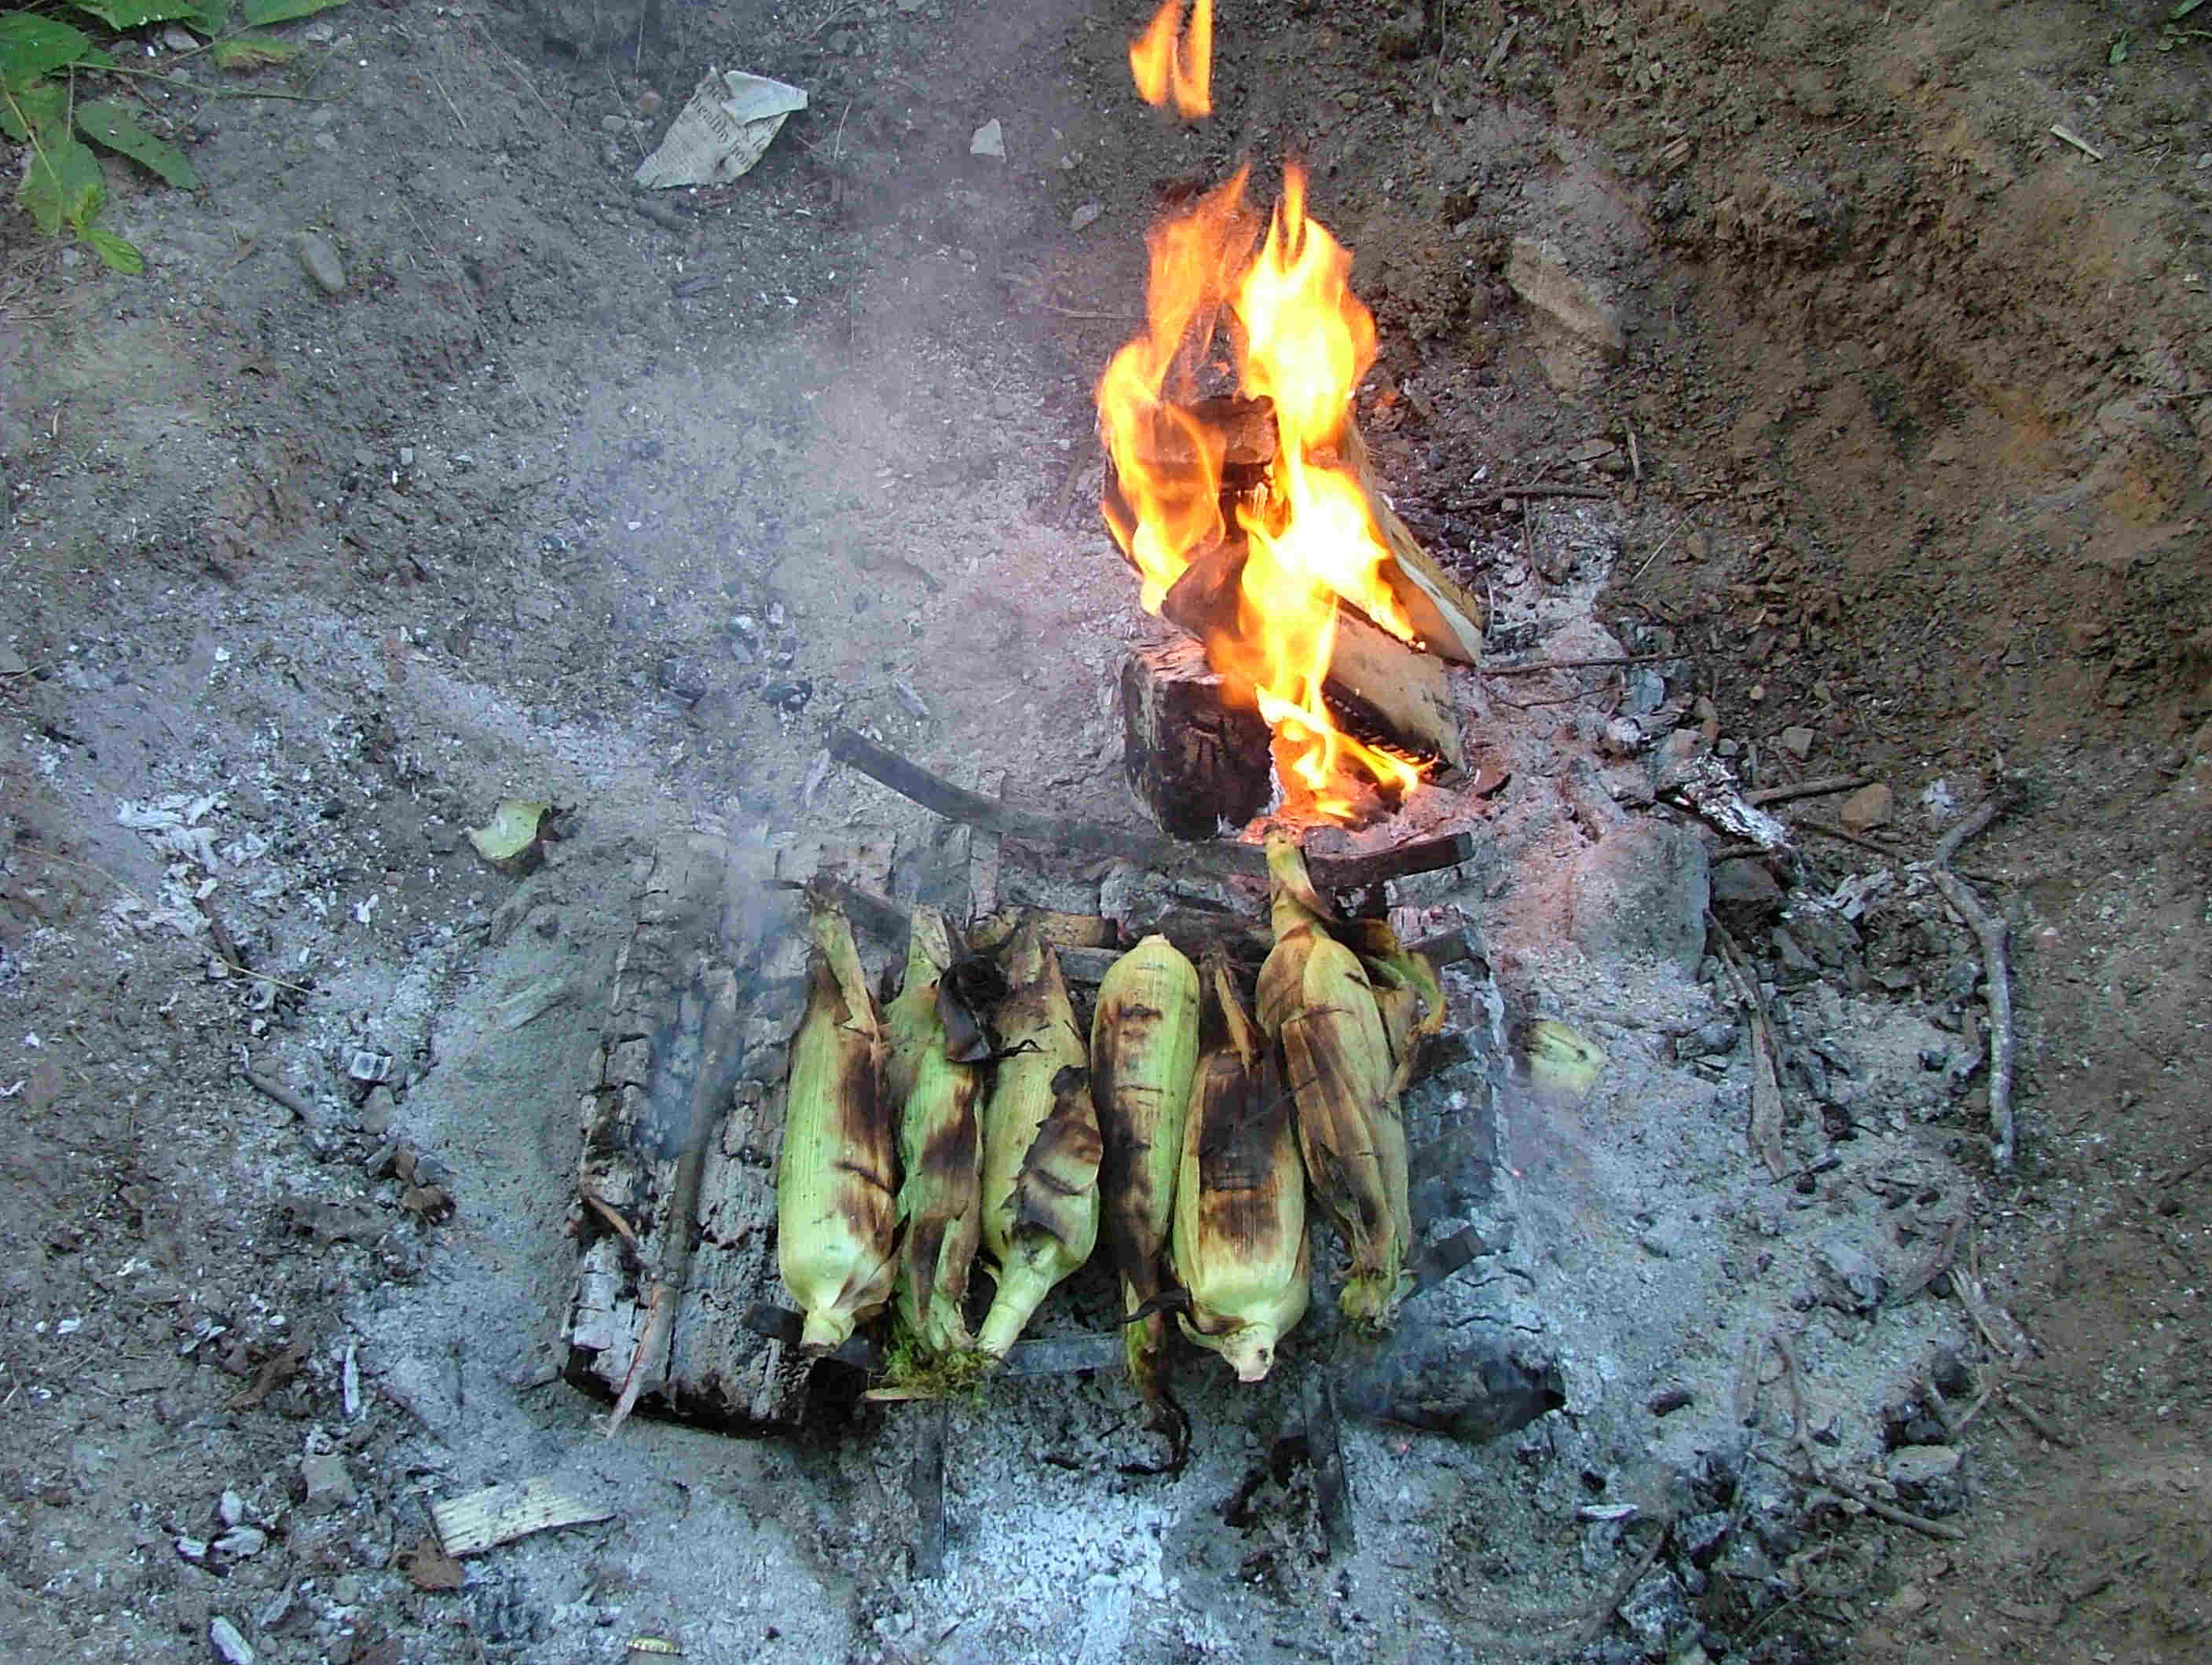
Another interesting side is corn on the cob. The way I like to cook my cobs is to first soak the cobs in water, still in their husks for about 2hrs. Meanwhile, Build a fire in your backyard fire pit. Let it burn down to the hot embers. Then, set the soaking wet cobs, husks and all, right onto the coals. Cook the corn for about 20 minutes or until the corn is golden yellow (you’ll need to peel open a cob to check of course). Don’t worry about the husks burning to jet black as the corn itself is well protected from the flames and embers.  Turn the cobs over every once and while to get even cooking. Once done, pull the cobs out and peel the husks. Server the cobs with butter and salt of course. It might be a little overwhelming to cook the corn and the ribs at the same time, but with good management, the tasks can be done by even one individual. A couple of extra helping hands never hurts though.
That’s it! The way to put on a ribfest has been revealed. Just remember, because it is a long process, much socialization and consumption of beverages is highly recommended to while away the time.


